- Click on the “Calendar” icon from the left navigation menu.
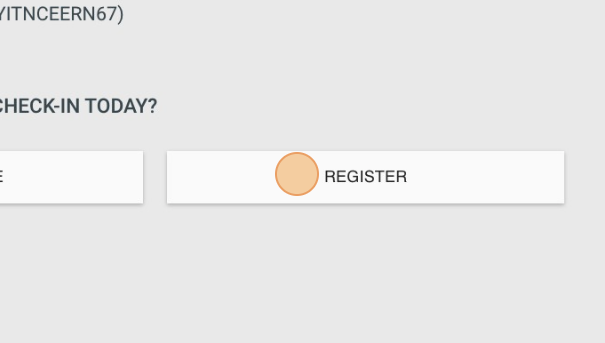
- Select “Check In” and click “Configure Check-in”.
- Click “Kiosk” or “Kiosk New Window” and it will launch the configuration screen.
- In the configuration page, select the types of check-ins which will be allowed in the session.
- Choose the location or event for which check-in is occurring.
(Optional) Select the printer from the list of available devices configured on the network (the one currently active when using the print utility) running on the Mac or PC referenced in the printing section- On the next lines, choose the number of child and guardian labels to print by default.
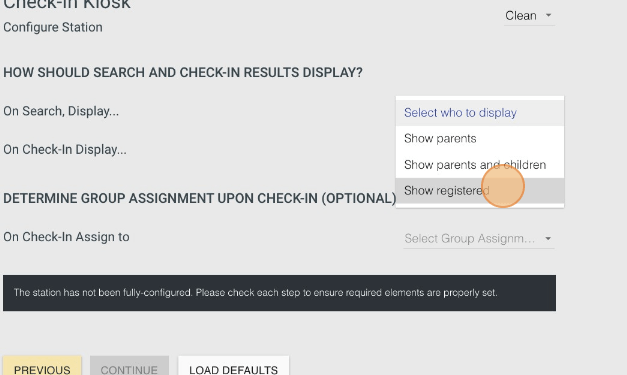
6. Select how names/results should be displayed when searching by name. Then select how names/results of the family should appear when the family is selected. In other words, when entering a family name to search, should children in the family appear as well? When selecting a family to display the list of members for check-in, should that list include parents and guardians or only display the children in the family.
7. Indicate the group assignment for new registrants. This is to say, for every new person registering to check-in to a particular location, which group should they be assigned to for attendance and general check-in.
8. Click to save these default settings (if desired). These settings can be saved for future use.