- Update: October 31, 2022
Managing Groups
This page covers on how to create and add groups.
On This Page
Creating Groups
-
1Click on "People "on the left side of the navigation bar and click on “Groups”
-
2Click on the “+ New” button in the upper right corner.
-
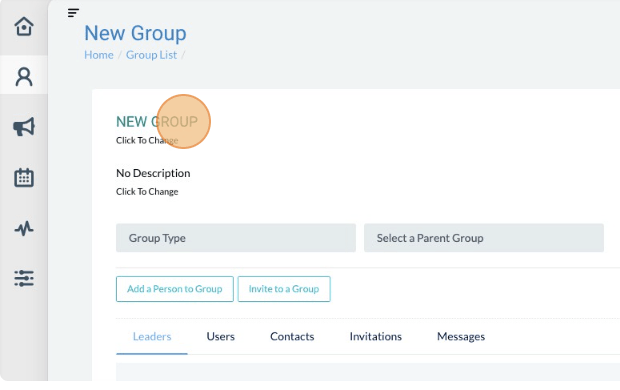
3Add a name for the group and a description. (Group name is required)
-
4Select the group type (i.e., General Group, Class, Small Group / Bible Study)
-
55. Optionally, select a Parent Group.
Add People to Group
- Click on “People” icon on the left side of the navigation bar and click on “Groups”
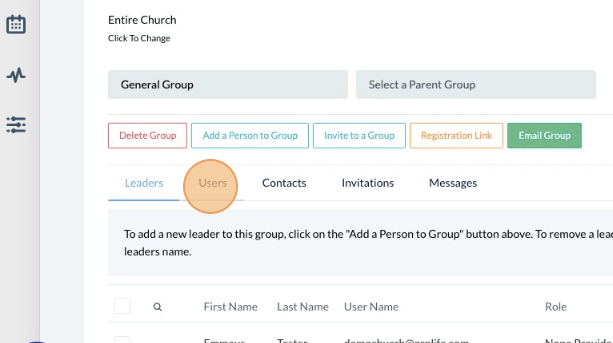
- Click the “View” button on the group you want to add people to.
- Click the "Add Person to Group" button and begin typing in a name from the system.
-
4Select the person from the list and indicate what roles the person will have in the group and click “Save”
-
5If the person is a Leader, indicate the Leader’s Role by selecting the role or adding a new one.

Assign a Group Owner
-
1Click on "People "on the left side of the navigation bar and click on “Groups”
-
2Click the edit button next to the group you want to edit.
-
3On the Leadership tab choose the person to be owner.
-
4Click the “Set Owner” button.
Remove a Group Leader / User / Contact
-
1Click on “People” icon on the left side of the navigation bar and click on “Groups”
-
2Click “View” button on the group you want to edit.
-
3Select the appropriate tab Leaders/Users/Contacts and choose the person to be removed.
-
4Once the contact record is found, click the “Remove” button.
Delete a Group
-
1Click on "People" on the left side of the navigation bar and click on “Groups”
-
2Click the “ View” button next to the group you want to delete.
-
3Click the “Delete Group” button.