- Updated: July 21, 2023
Emails
This page covers on how you schedule emails and see email responses.
On This Page
Sending Emails
Standard Email No Delay
-
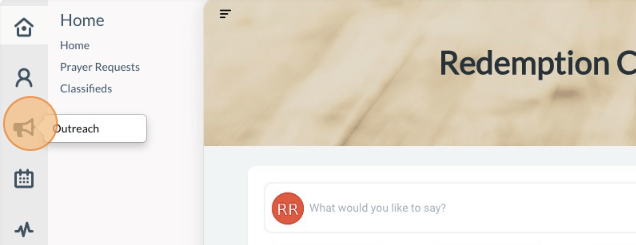
1Click the “Megaphone” icon (Outreach) in the left navigation menu. Select “Emails” link.
-
2Click on the “+ Create Email” button in the upper right corner.
-
3Provide a name and a subject for the email.
-
4Compose the email, add pictures, video, and full HTML formatting.
-
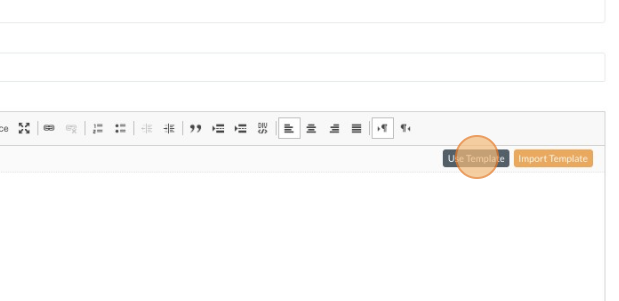
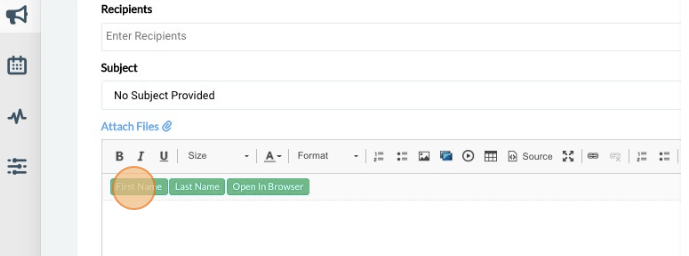
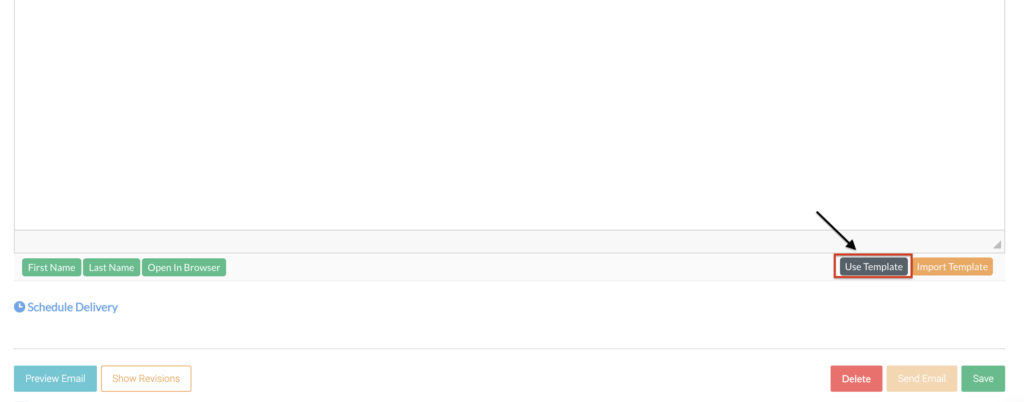
5Alternatively, you can also use a template or import a template of your choice; click " Use template/ import template " (highlighted in green) on the upper right side of the message box
-
6You can also add placeholder blocks that can pull elements (i.e., first name and last name) from the database. Just click the First name/ Last name (highlighted in Green)
-
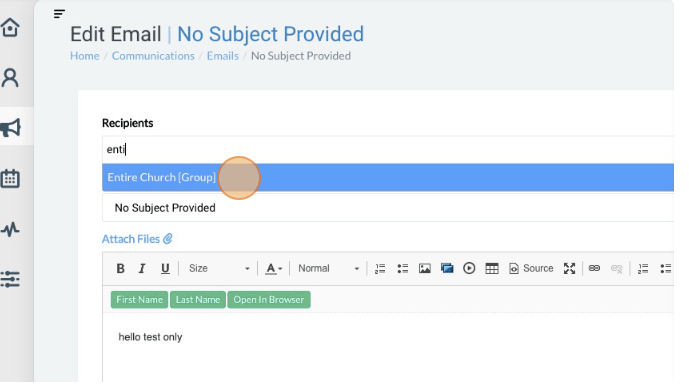
7On the "Recipients" tab, (type group's name) choose the groups, subscription lists, or individuals to receive the email.
-
8Once done, click “Send email” on the lower right side of the page.
Creating Emails or Newsletter using a Template
-
1Click the “Megaphone” icon (Outreach) in the left navigation menu. Select “Emails” link.
-
2Click on the “+ Create Email” button in the upper right corner.
-
3Scroll down a little and on the lower right side of the page click "Use Template".
-
4A pre-set template will load on the body of the message; you will have the option to add, edit and customize the content of the email.
- Click and drag the icons you would like to add and edit to the content of the email.
-
5Once done editing, you can click the 'eye icon" to see the preview of your created email and click the "desktop icon" to see how the email looks like when viewed on a computer/laptop screen. Click the "Mobile icon" to see what the email looks like when viewed on a mobile phone.
-
6On the "Recipients" tab, (type the group's name) choose the groups, subscription lists, or individuals to receive the email.
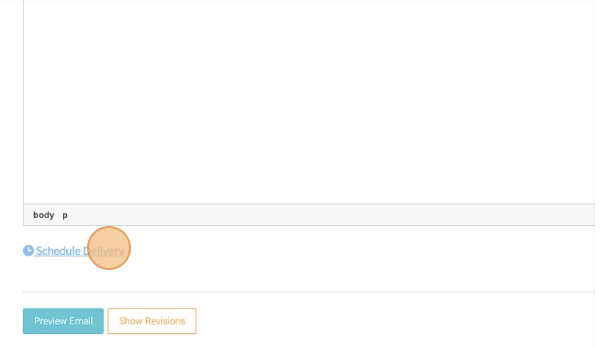
- If applicable, Click "Schedule Delivery" on the lower left side of the page and select the date and time for the email delivery
-
7Click the "Save" button on the lower right side of the page to save the email. (If details or contents still need to be added later on).
- If the email created is ready to be sent, On the "Recipients" tab, (type group's name) choose the groups, subscription lists, or individuals to receive the email. Click "Send email" on the lower right side of the page.
Check sample video below.
Scheduled Email
-
1Click the “Megaphone” icon (Outreach) in the left navigation menu. Select “Emails” link.
-
2Click on the “+ Create Email” button in the upper right corner.
-
3Provide a name and a subject for the email.
-
4Compose the email, add pictures, video, and full HTML formatting.
-
5You can also add placeholder blocks that can pull elements (i.e., first name) from the database.
-
6Alternatively, you can also use a template or import a template of your choice, just click " Use template/ import template " (highlighted in green) on the upper right side of the message box
-
7On the “Recipients” tab, (type group's name) choose the groups, subscription lists, or individuals to receive the email.
-
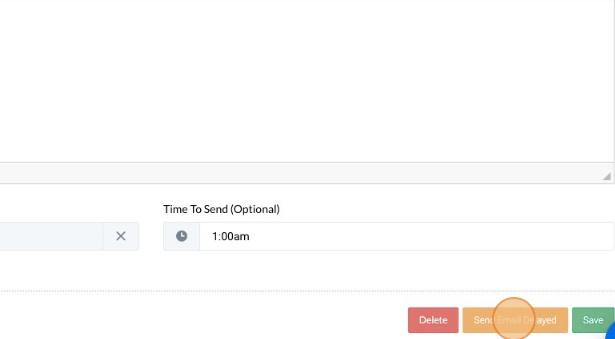
8Click "Schedule Delivery" on the lower left side of the page, and select the date and time for the email delivery.
-
9Once done, click " Send Email Delayed" on the lower right side of the page.
Email Responses
-
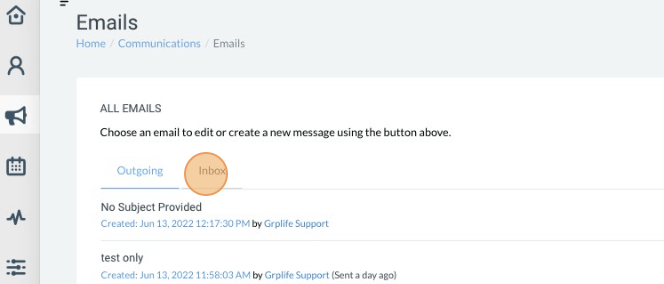
1Click the "Megaphone" icon (Outreach) icon from the left navigation menu.
-
2Click the “Email” link. Click on the “Inbox” tab, this will allow you to see any responses.
Viewing Message History (Receipt, Opened, Clicked)
-
1Click the "Megaphone" icon (Outreach) icon from the left navigation menu.
-
2Click “Emails” link and choose the email you want to see the message history.
-
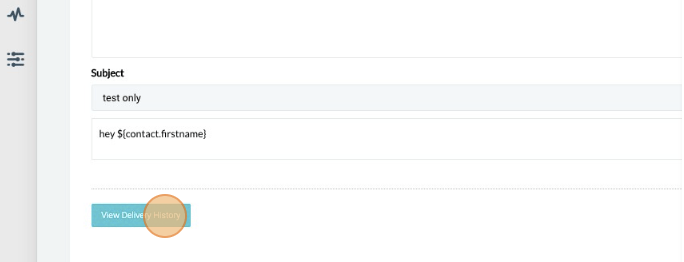
3Select the Outgoing tab and click "Edit" button on the email you want to check.
-
4Click the “View Delivery History" button on the lower left side to see more details.