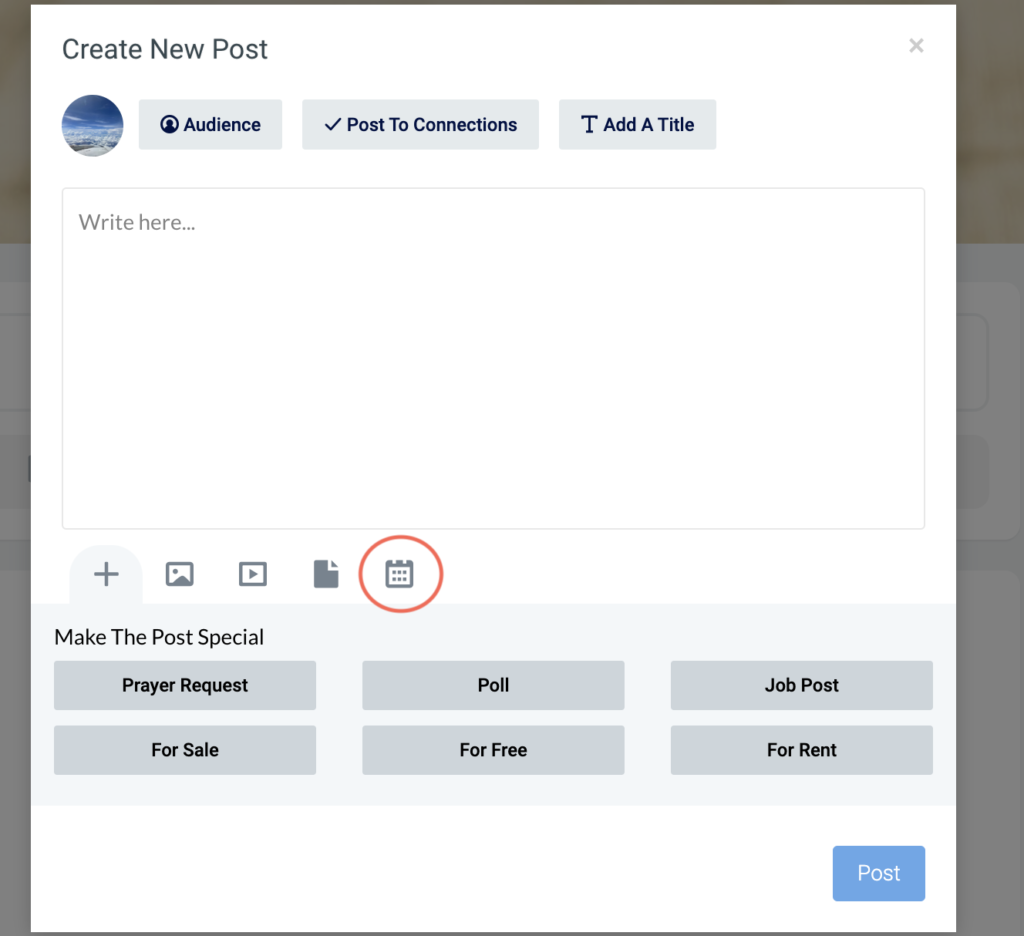
Click the “Home “ icon and then click on the top page “What would you like to say?” Alternatively, click “Create an Event” on the lower side of the message bar.
2
Select the group(s) /audience you’d like to be able to see your post.
3
Type a name and a description for your event.
4
Enter the beginning (reservation date) and ending date (reservation end date) and time for your event.
5
5. Optionally, add a photo. Click "Post".
Add an Event (Option 2)
1
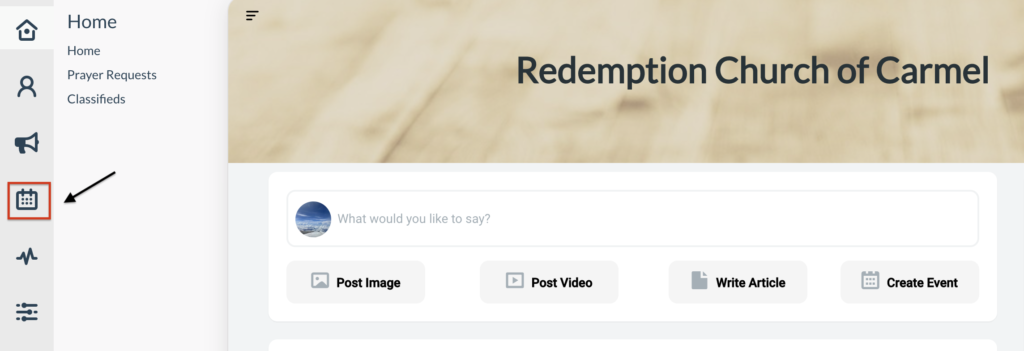
Click the “Calendar” icon from the left side of the navigation bar and select “All Events".
2
Click on the date you would like for the event. Type a name and a description for your event.
If this is a recurring event, click the "Recurrence" tab and check the "Enable Recurrence" box. If not, proceed to step 3.
Select the Recurrence Frequency. Click "Save" once done.
3
Add a description, event tags and select the group for the event.
4
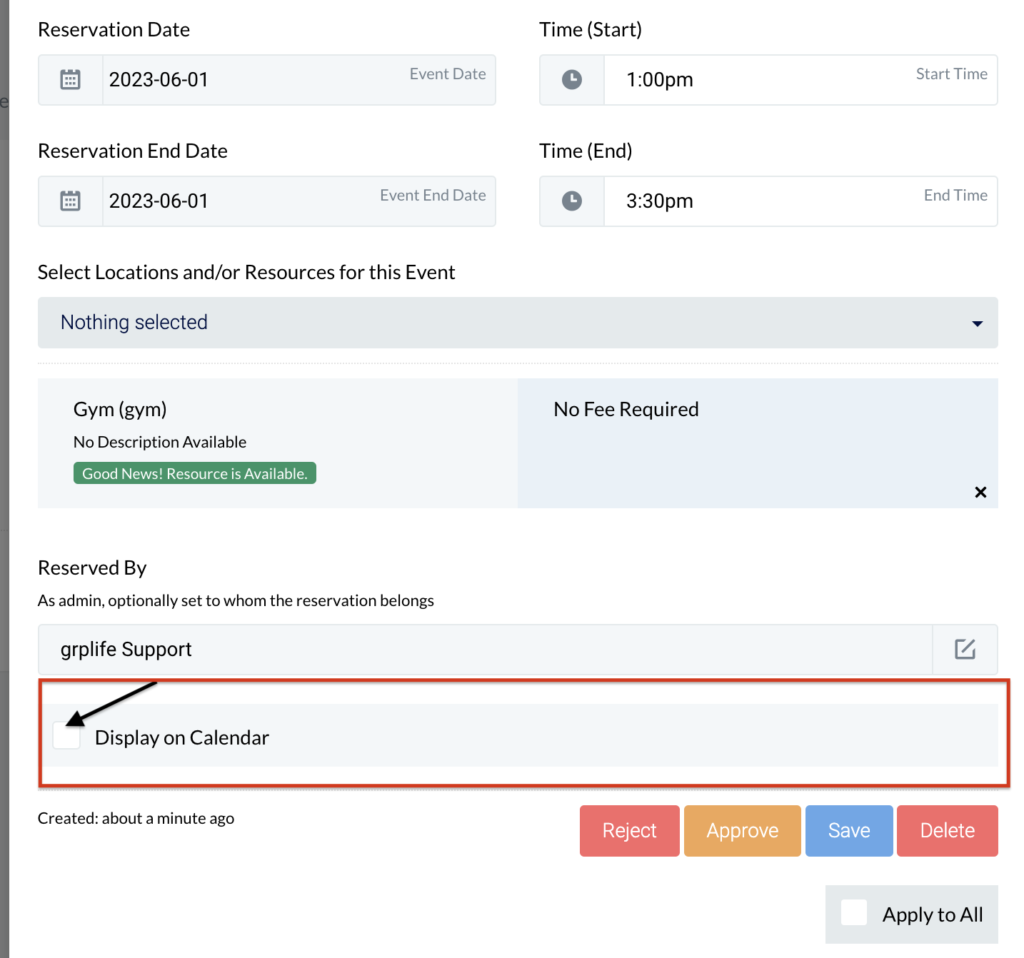
Fill in the Event Start Date and the Event End Date. Select the Event Start Time and Event End Time.
5
Optionally, select the Location or Resource for the Event.
6
Optionally, on the Reserved by tab, set to whom the reservation belongs to.
7
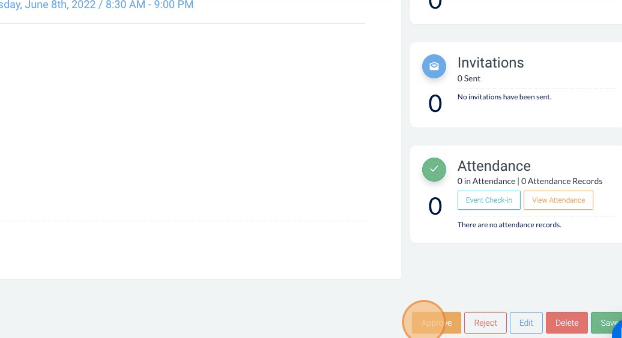
Check all the event's details and then click "Save".
If you want this event to appear on the "All Events" tab click the "Edit" button. Scroll down and check the "Display on Calendar" box and click "Save".
8
The page will refresh and optionally, add a photo. Click "Approve" on the lower right side of the page so the event will be added to the calendar.