- Updated: April 24, 2023
Creating Resources and Reservation
Create Resource or Facility
-
1Click the “Calendar” icon from the left side of the navigation bar and select “Resources and Facility”.
-
2Click “+ New" on the upper right side of the page.
-
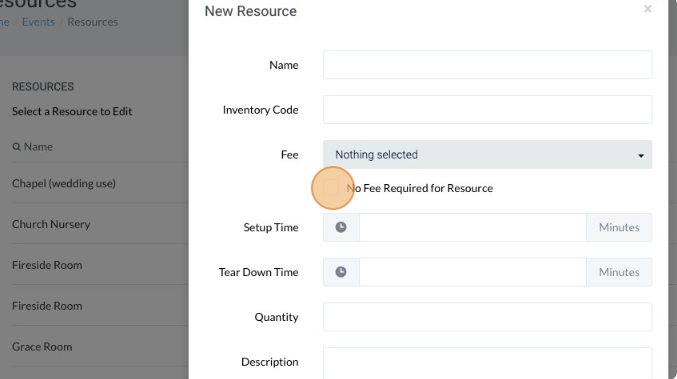
3Fill in the details required for the created resource/ facility. A fee is optional; tick the box if no payment is required.
-
4Once done, click “ Save”.

Create an Event and Making Resource Reservation
-
1Click on the “Calendar” icon in the left navigation menu. Click on the “All Events” link.
-
2Click on the day that you want to add the event. Type a name and a description for your event.
-
3Select the group(s) you’d like to be able to see your event.
-
4Enter the beginning (reservation date) and ending date (reservation end date) and time for your event.
-
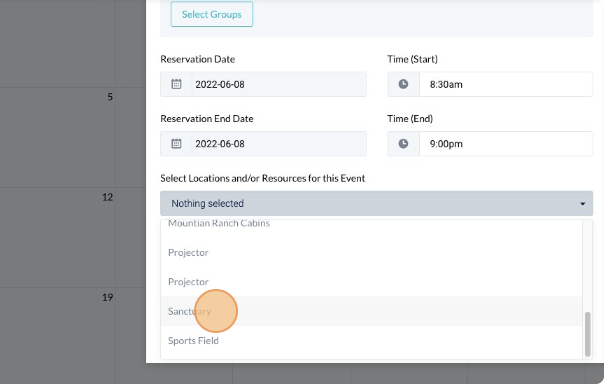
5Select the Location or Resource for the Event from the drop down.
-
6Optionally, on the Reserved by tab, set to whom the reservation belongs to.
-
7Check all the event's details and then click "Save".
-
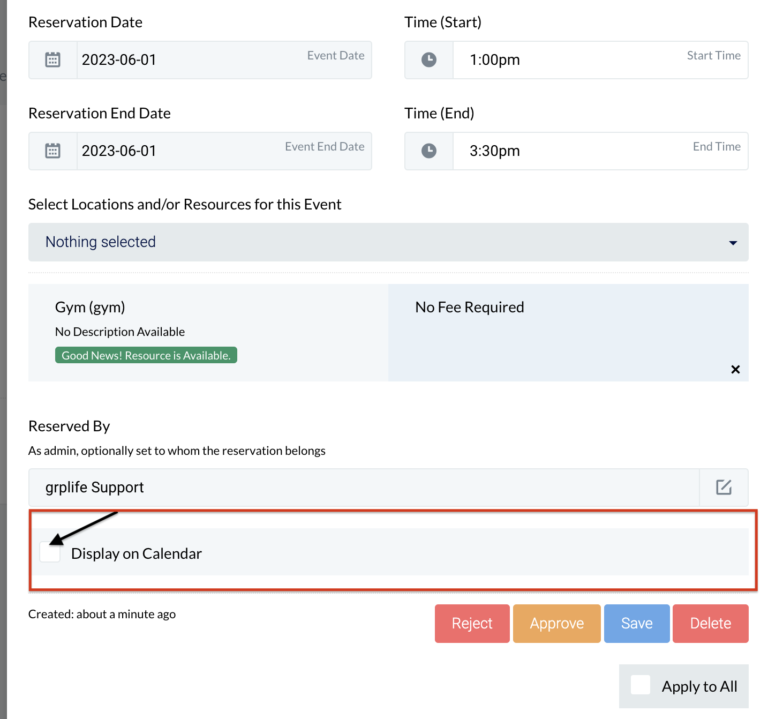
8The page will refresh, if you want this event to appear on the "All Events" tab click the "Edit" button. Scroll down and check the "Display on Calendar" box and click "Save".
-
9Click "Approve" on the lower right side of the page so the event will be added to the calendar.

